WordPress Hosting on Google Cloud
If you are looking to setup a personal website, blog, or a site for your new start-up business it can be a challenge to compare various hosting services and figure out what will meet your needs. I have used a number of hosting service providers but found that my sites were slow to load while I was paying $13 per month for a shared hosting plan. As I started getting more into data analytics I setup a number of virtual machines on Google Cloud and came across some articles and YouTube videos of users hosting their sites on Google Cloud. I also discovered there are a number of ways to setup hosting services and spent substantial amount of time figuring out the method that worked best. This article will walk through the steps to sign up for an account launch a WordPress virtual machine, link a domain name, and install an SSL certificate. The best part is that we will be able to get a website up and running free of charge and once your website grows in traffic the monthly costs will be only a few dollars.
Setup Google Cloud Account
Navigate to cloud.google.com and click Get started for free
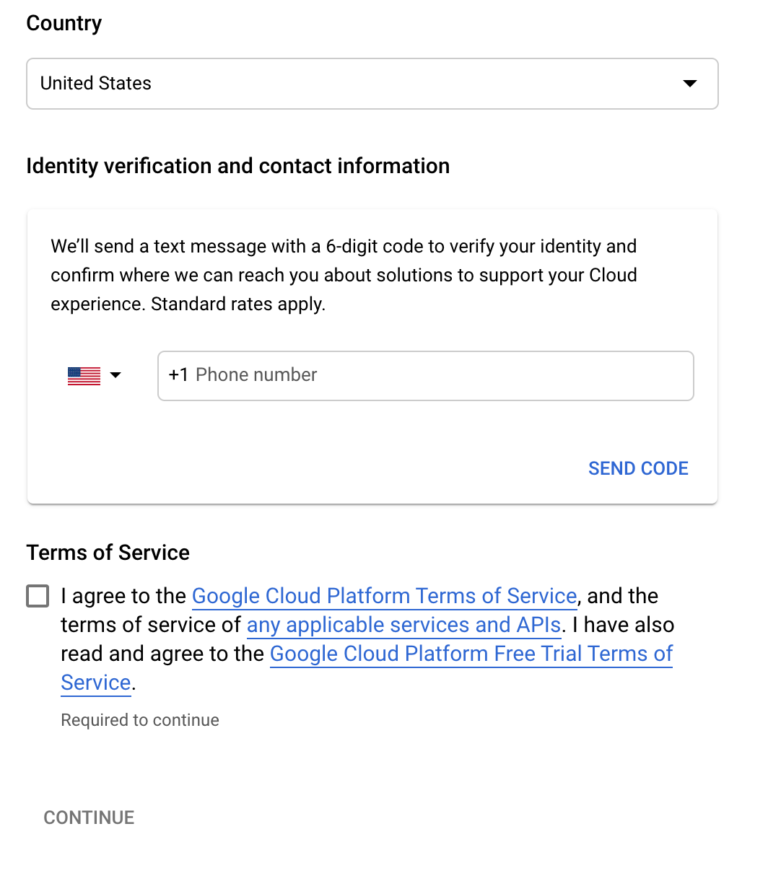
Next select your country, enter your mobile phone number and agree to the Terms of Service. Google Cloud is great because it allows users to try the service for free, there is no autocharge after the free trial ends and they give us a $300 credit to spend on services over the 90-day trial period. Users do have to be careful not to enable a large number of services and use substantial resources because after the free trial this will result in charges.
On the next screen you will need to select Business or Individual account type. This setting is permanent and may be used for tax and identity verification. Select Business if this is for a business, organization, partnership, or educational institution. Otherwise, select Individual. Input your address and payment details, a credit card is required to setup an account, but no charges will be applied.
Deploy WordPress
Once you are in your Google Cloud account, select Projects then click Create Project, enter the name of your project, this can be anything for example the name of your website.
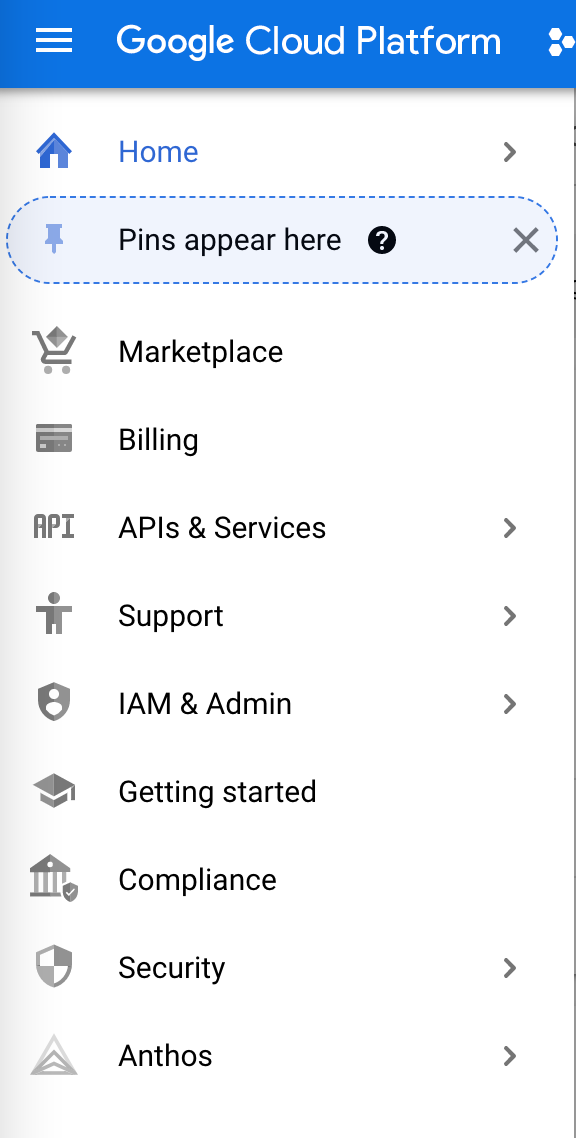
Next, click the top left navigation panel and select Marketplace.
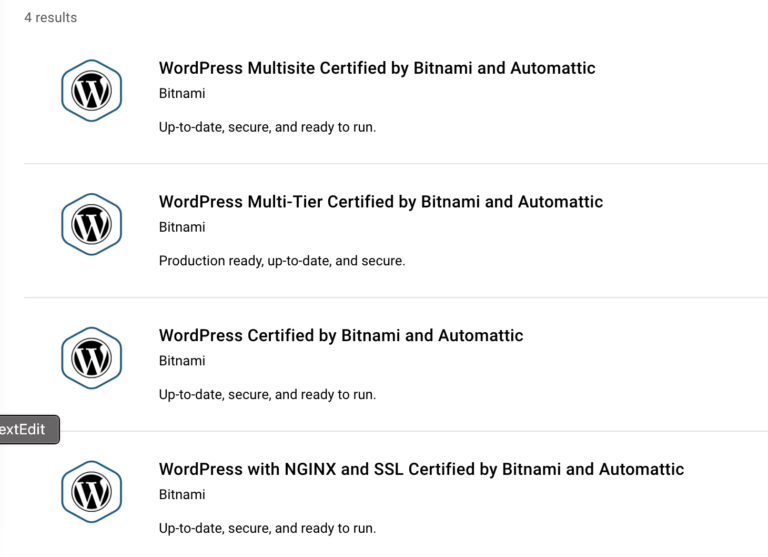
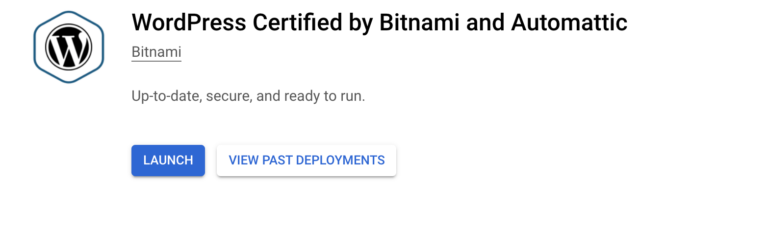
In the marketplace search for Bitnami WordPress, you will see a number of different options come up, we want to select WordPress Certified by Bitnami and Automattic, then click Launch.
Enter a Deployment name, this doesn’t matter too much it just has to be recognizable to you.
To be eligible for the free tier we need to select Zone us-west, us-central, or us-east. Once we have selected one of these zones under machine type you should see micro (1 shared vCPU) 0.6 GB memory, f1-micro available, this qualifies under the Google Cloud Platform free tier.
Book disk type should be Standard Persistent Disk and size can be up to 30GB to qualify for the free tier
Networking we will leave as default and Firewall we will make sure Allow HTTP traffic from the Internet and Allow HTTPS traffic from the Internet is checked.
Accept the GCP Marketplace Terms of Service and Bitnami Terms of Service and click Deploy
More information regarding what is included in the Google Cloud free tier can be found here.


Set a Static External IP Address
We need to make sure the IP address of our newly created virtual machine doesn’t change so when users enter our domain name it points to our WordPress deployment. Select the top left navigation panel and scroll down to VPC network and then select External IP addresses. Under Type click the dropdown and select Static, we need to give it a name which can just be the name of your website (yourdomain), then click Reserve.
To test that your WordPress deployment is working you can copy the external IP address into your web browser, it should take you to the default WordPress web page.
Setup DNS Records
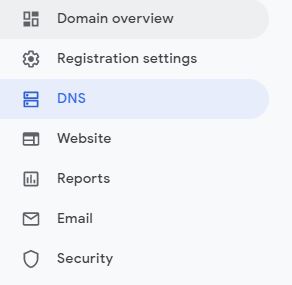
The next step is to setup DNS records and point your domain name to the WordPress deployment we just created. Select the top left navigation panel and scroll down to Network Services, Cloud DNS. If this is your first-time selecting Cloud DNS, you may have to wait for the DNS API to be enabled. Once it is finished loading, click Create Zone, on the next screen for Zone Type select Public, for Zone Name we can use your website name again (yourdomain), for the DNS Name we will use your website name with the specific domain extension you are using (yourdomain.com). We will leave DNSSEC off for now and then click Create.
DNS Name, leave this blank it should be filled with your website already (yourdomain.com)
Resource Record Type set to A
TTL 5
TTL Unit minutes
IPv4 Address enter the external IP address we setup in the previous steps
Click Create
Click Add Record Set again
DNS Name WWW
Resource Record Type CNAME
TTL 5
TTL Unit minutes
Canonical Name yourdomain.com
Click Create
Point Domain Name to Webserver
In the next step we will need to point our domain name for our website to our WordPress deployment, currently the only way we can navigate to our website is using the state IP address that we setup in earlier. This process will be slightly different depending on the domain registrar you use but all are handled essentially the same.
First log into your domain registrar account, this is where you registered your domain name, in this example I will be using Google domains. Once you are logged in you want to find the DNS settings for your domain name and under Name Servers we want to select Use Custom Name Servers.

In Google Cloud Platform under Network Services, Cloud DNS you should see an NS record type that has the Google Cloud Name Services, you will need to enter these name servers into your Domain Registrar. The name servers you see may be slightly different.

After you wait a few minutes for the name records to update when you type into your browser yourtestdomain.com it should take you to the default WordPress page that you saw earlier when we use the static IP address to navigate to our WordPress website.
Login to your WordPress Dashboard
To login to the WordPress dashboard so you can start building your website we will first click the left navigation panel and scroll all the way down to Deployment Manager then Deployments. Select the deployment we just finished setting up and it should open a page that has the static IP address of your website and the username and password. Next in your web browser enter yourdomain.com/wp-admin and enter the credentials. Once logged into the WordPress dashboard to change your user password select Users from the left navigation panel, the select the user profile and scroll down and click set new password. It is also recommended that you update the email address associated with your account in case you get locked out of your account this will be the only way to reset your password.
Setup SSL Certificate
You may notice when you navigate to your website, in the top address bar it shows a notification that the site is not secure. To get the site secure we need to setup an SSL certificate to enable HTTPS, this essentially allows visitors to establish a secure connection to your site. If there is no SSL certificate setup browsers will complain that your website isn’t secure and it can impact your SEO.

To get started navigate to the Compute Engine in Google Cloud and on the WordPress VM Instance and select SSH under connect.

Enter the following command:
sudo /opt/bitnami/bncert-tool
The first prompt will ask you to enter the domain names of your website separated by a space, we will enter:
yourdomain.com www.yourdomain.com
Then press enter
Next we will answer the following prompts as follows:
Enable HTTP to HTTPS redirection [Y/n] : Y

 Enable non-www to www redirection [Y/n] : Y

 Enable www to non-www redirection [y/N] : N
Next a summary of the changes will be listed, enter Y to agree to the changes
Next enter an email address that will be used to notify you when the SSL Certificate is renewed.
Do you agree to the Let’s Encrypt Subscriber Agreement? [Y/n] : Y
After everything is finished loading you should see the message The Bitnami HTTPs Configuration Tool succeeded in modifying your installation.
Lastly, login to the WordPress dashboard by navigating to yourdomain.com/wp-admin and enter your credentials, if you can’t remember your login and you haven’t changed it from the default you can find your password under Deployment Manager in Google Cloud.
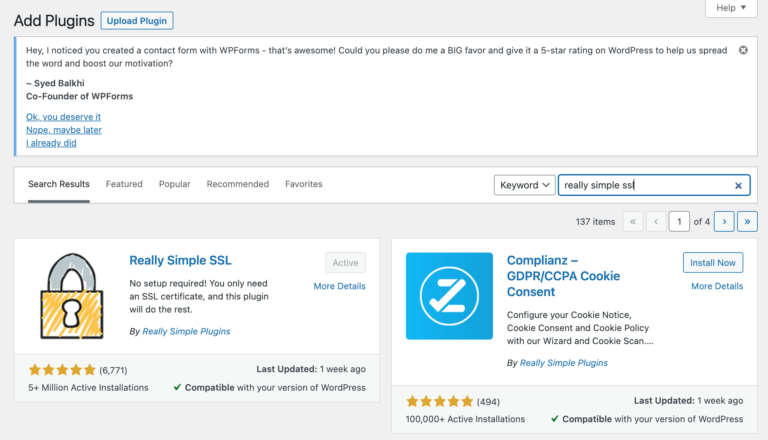
Next navigate to Plugins then Add New, search for Really Simple SSL, click Install then Activate.
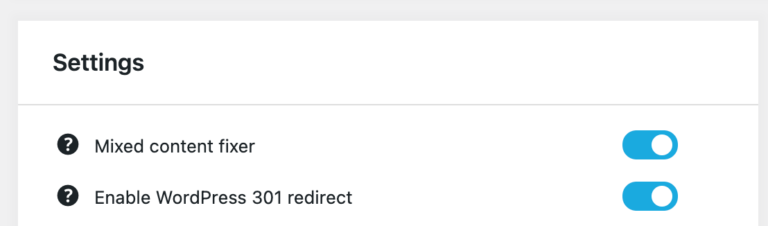
Now navigate to Settings then SSL and enable Mixed Content Fixer and Enable WordPress 301 Redirect.
Remove Bitnami Logo
To remove the Bitnami logo in the bottom right-hand corner of your newly created website navigate to Compute Engine and click SSH.
Once in the terminal enter the following command:
sudo /opt/bitnami/apps/APPNAME/bnconfig --disable_banner 1
You may need to restart the Apache serve if the banner is still displayed to do this enter the following command:
sudo /opt/bitnami/ctlscript.sh restart apache
Summary
Congratulations you made it, we now have a WordPress site deployed on Google cloud. Since we are using the free tier virtual machine you should receive any changes unless you start getting some serious traffic on your website. In the Compute Engine it will notify you if upgrading the virtual machine instance is recommend maintaining the performance of your website. I have found this is the best solution for hosting personal websites as our only cost to maintain our website is the annual domain registration fee and the performance of Google Cloud is excellent providing quick load times. Hopefully you have found this guide useful, if you run into any issues, please send me a note through the Contact page.